Product Summary
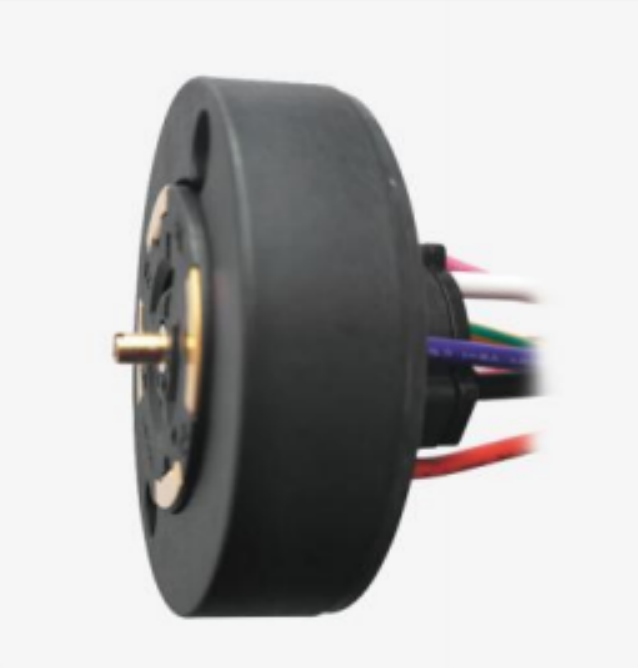
JL-250GXA twist-lock light controller socket is designed for outdoor lighting fixtures and is used to accept twist-lock light controllers to control LED lamps.
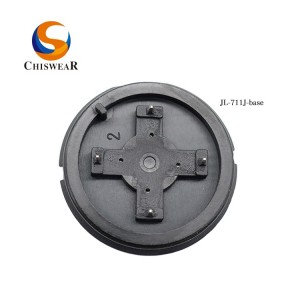
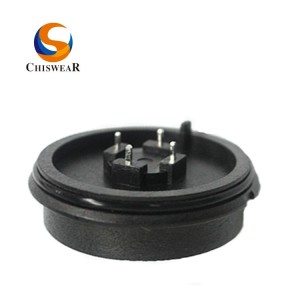
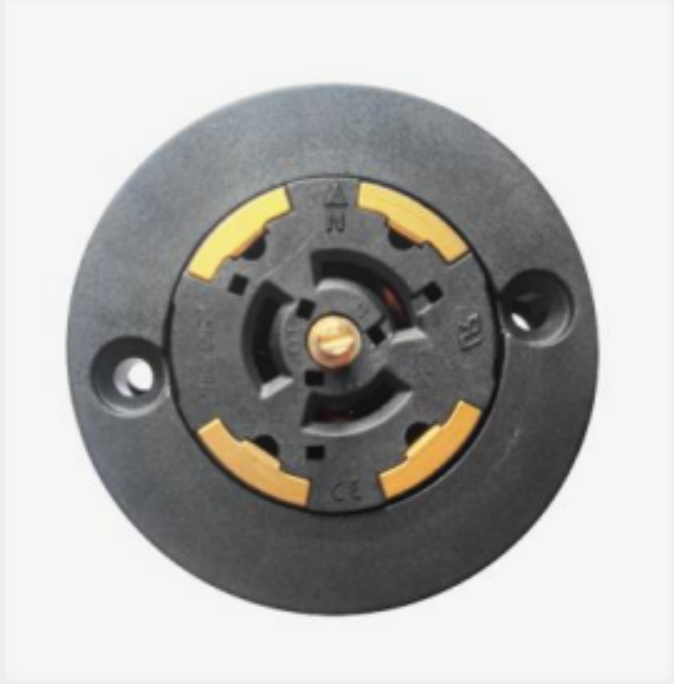
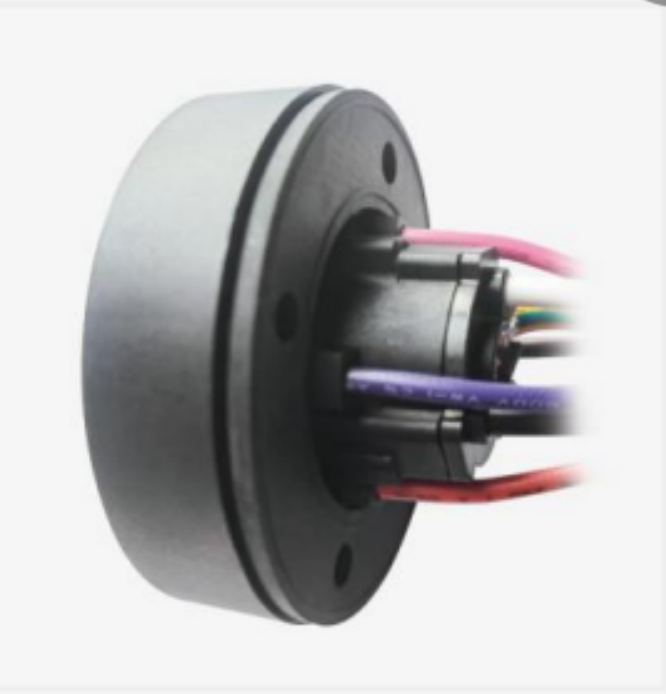
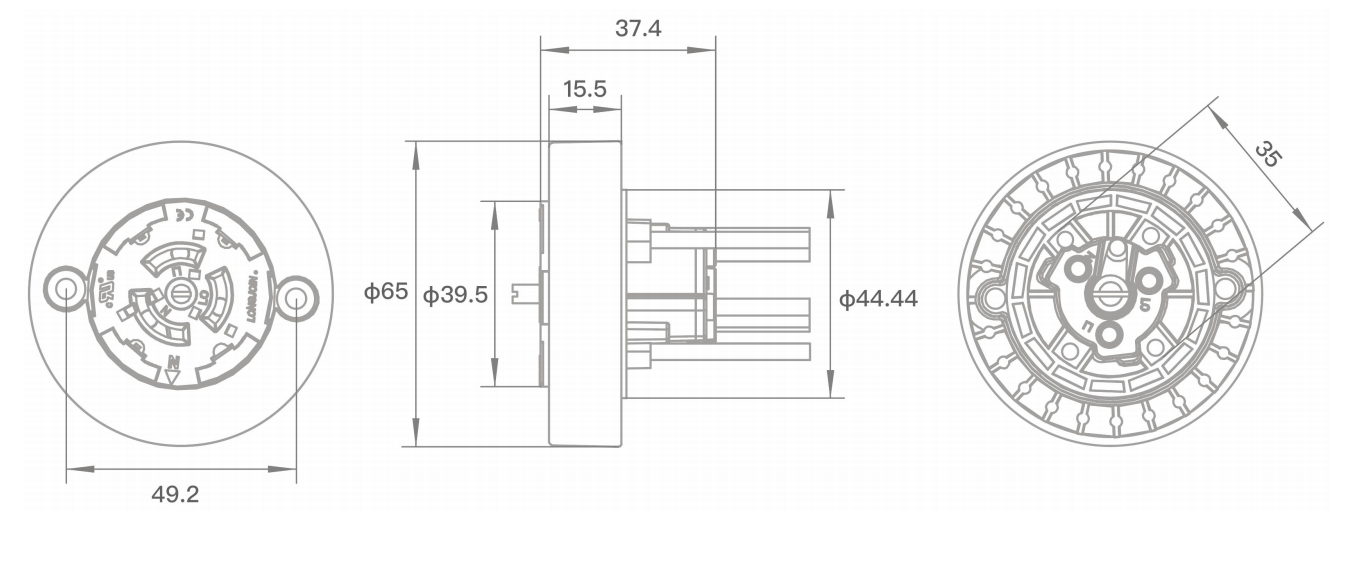
This product provides 4 gold-plated arc-shaped contact blades on the top surface, which are suitable for the spring contacts of the twist-lock light controller (ANSI C136.41), and is mounted on the back.
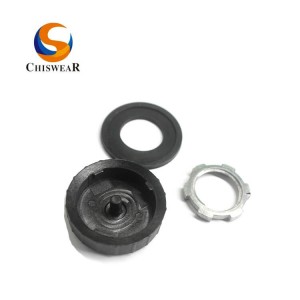
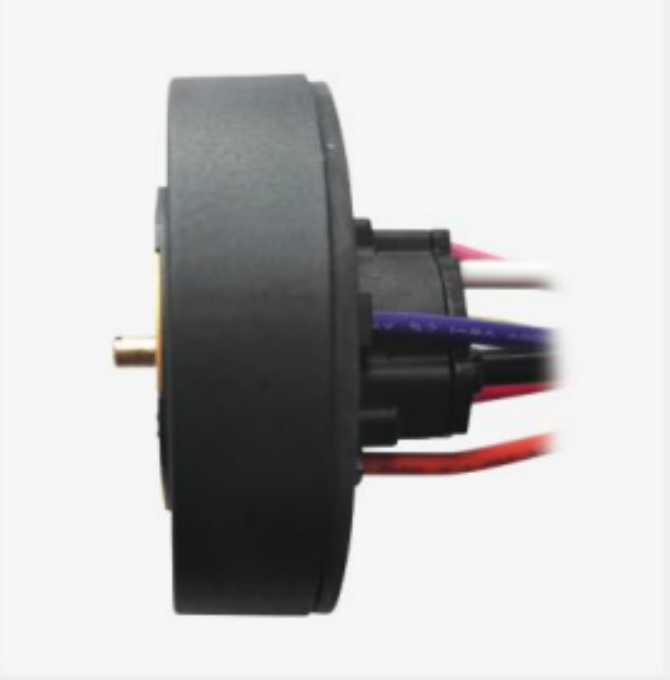
4 signal wires are provided. In particular, the ground terminal in the center of the socket cooperates with the JL-250F**C* series to achieve common mode surge protection.
This product meets ANSI C136.10, ANSI C136.41 and ANSI/UL773 standards for area lighting using plug-in, twist-lock light controls
Require.
| Model No. | JL-250G |
| Rated Voltage | 0~480VAC |
| Rated Frequency | 50/60Hz |
| Rated Loading | 15A |
| Signal Control | 0-30 VDC, 1500 mA Max |
| Wire specifications | 16AWG/14AWG |
| 6″ shortest | |
| Ambient Temperature | -40°C ~ +70°C |
| Working humidity | 0.96 |
| Certification | ANSI C136.41-2013 |
Features
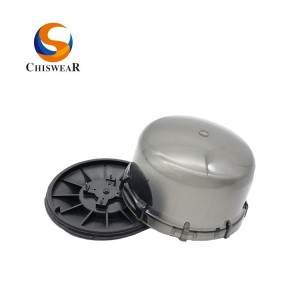
Body made of polybutylene terephthalate (PBT)
Contacts made of phosphor bronze
Metal contact blades are made of nickel plated phosphor bronze, gold plated in accordance with ASTM B 522
Silicone gasket provided
Center ground terminal, used with JL-250F**C* series to achieve common mode surge protection
You can loosen the screws and then search for north, which facilitates the installation of the light controller (the default point is north during installation), avoids the degradation of the photosensitive element of the light controller, and extends the use of the light controller life
Installation Notes
Disconnect power
Connect the sockets according to the diagram below
A north arrow on the top of the socket is used to help determine the correct direction
Adjust the socket position by loosening the screws and secure it after repositioning